Topics
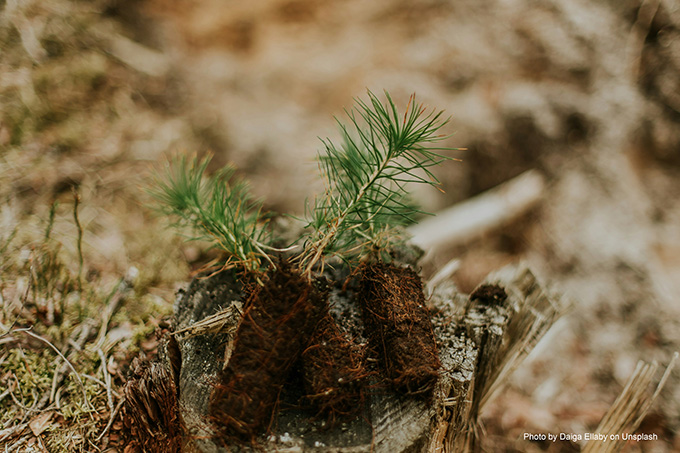
Planting Forest Seedlings
CALFIRE and the U.S. Forest Service published a map of Forest Seed Zones of California. The map can be found on the internet here:
https://gis.data.ca.gov/datasets/cd7030ec307b4e449751829efde53f75_0/explore?location=36.948190%2C-119.002006%2C5.53
Ideally, you will be able to find seedlings close to your seed zone and elevation. Seedlings from zones far away from the desired location may have a lesser chance of success. To find a source for seedlings, contact your forester, CALFIRE representative, or a local timber company.
If your planting project will likely be several days duration, it would be wise to secure cooler space to store the seedlings. Seedlings in bags or boxes stored in the sun or in hot weather will likely suffer and possibly die. Both the Forest Service and private timber companies use large coolers during the planting season. Contacting them prior to seedling arrival would be advisable.
Conducting a walk-thru tour of the planting site can reveal possible vectors that can harm young seedlings. Any use of herbicides should be done prior to planting as advanced brush and grass growth may inhibit seedling growth and survival. Pocket gophers, rabbits and even deer can cause serious losses. In some cases, using shade tolerant species, it may help to provide netting to prevent browsing of seedlings.
Is the planting site accessible during the spring planting season? If not, you may wish to plant during the fall period. In that case, be sure that adequate moisture has saturated the soil to at least the rooting depth of the seedlings prior to planting. For spring planting, be sure the site is snow-free and the soil temperature at the rooting level is 36-40 degrees.
Larger planting projects will require contractors, so make sure you have wording in the contract that ensures professional tree planting. You should have someone with experience NOT associated with the contractor to check for good planting techniques.
The first thing a planter must do is to provide an adequate “scalp” of the planting spot to remove any leaf litter or grass. The scalp must be wide enough to prevent litter and debris from falling into the planting hole. Planting shovels, hoe dads and augers are commonly used implements in planting. The planting hole must be deep enough to accommodate the entire root system of the seedling. The hole must be vertical and not slanted so that the entire root system is at the proper depth. Next the planter will compress the loose soil with a firm stomp of the boot to remove any air pockets.
To check for quality on the planting job, the first test is a tug on the seedling to test the firmness of the soil. If the soil is too loose, it will dry out too quickly which will also dry out the root system. Next, check for the proper placement of the root collar. If the collar is too high, that can also dry out the roots. Next, carefully excavate the seedling with a planting shovel to check the entire root system for proper planting depth. Pay close attention to the bottom of the root system to ensure the roots are not tangled at the bottom or “J” rooted or “L” rooted.
Make notes as to the percentage of poor planting.
In the fall of the year, before the first snowfall, sample some circular plots across the project to check for dead or dying seedlings. This will show whether or not additional planting is necessary and give a sense of how accurate your sampling was while planting.
TAGS